- Free shipping Worldwide
How to Use Your Vagu Vibe
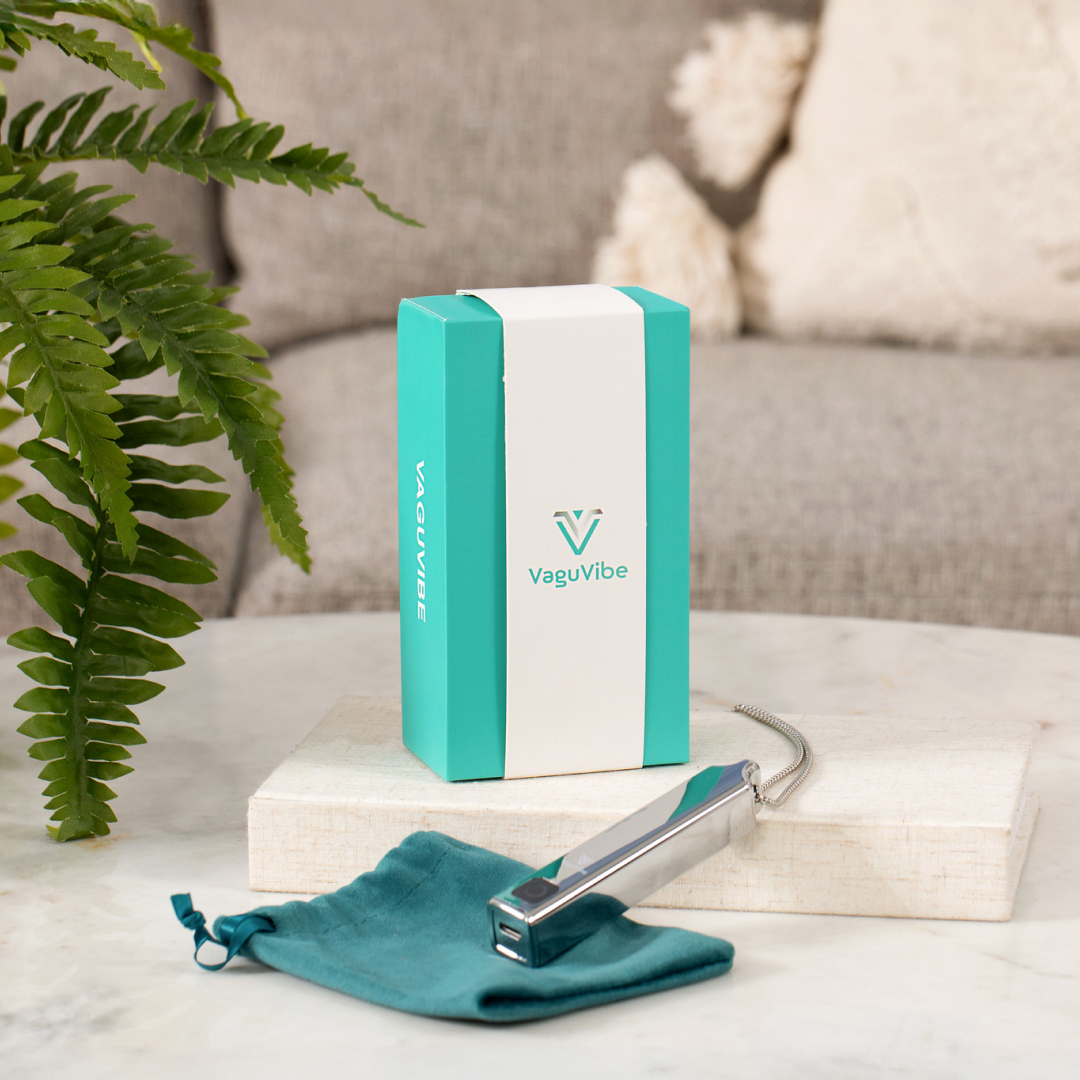
Activate Your Body’s Natural Calm with Vagu Vibe
Simple steps to get started with your vagus-nerve stimulator
VaguVibe Instructions
Welcome! These are the simple steps to use your VaguVibe — the vagus nerve stimulator (or vagus nerve toner).
Step 1: Charge Your VaguVibe
- Locate the USB-C port on your device.
- Use the included USB-C cable and AC adapter to charge.
- While charging, you’ll see a blinking red light.
- When fully charged (usually about 1 hour), the red light becomes solid.
Step 2: Power On
- Hold the power button for 2 seconds.
- A white light will appear — this means your VaguVibe is now on and active.
Step 3: Wear It
- Place it comfortably around your neck using the included stainless-steel chain.
- You can also use any other necklace or chain you prefer.
- The device is lightweight — you’ll hardly notice it’s there.
Step 4: Session Time
- The battery lasts about 6 hours on a full charge. Clinical data shows a good response in ~30 minutes, so one 30-minute session per day is plenty — but you can use it longer if you wish.
Step 5: Check It’s Working
- The coils are near the top of the device.
- Use the included magnetic field tester — place it near the coils, and you’ll see it jump or move, showing that it’s working.
- For therapeutic confirmation, track your Heart Rate Variability (HRV) using wearables such as Oura Ring or Fitbit.
- If your HRV increases, that’s a sign your vagus nerve is being positively stimulated.
- You may also notice better sleep and improved wellbeing.
Step 6: Water Resistance
- Not waterproof, but water-resistant.
- Safe for sweat or light splashes, but do not submerge it in water.
Step 7: Power Off
- When the white light blinks, it means the battery is down to ~10 % — time to recharge.
- To turn off, simply hold the power button for 2 seconds again.
- The light will go off — and so will the device.
VaguVibe — perfect daily companion to the Resona VIBE.
VaguVibe gently tones your vagus nerve — the body’s natural reset switch — helping you reduce stress, improve sleep, and boost overall wellbeing, all in just minutes a day.